 |
| I clecoed and screwed the panel to the existing metal of the tunnel. I then grabbed my thinnest cutting wheel and proceeded underneath the car. I slowly cut along the line of the tunnel and trimmed the new piece down. This made a very tight and exact fit for the welding process. |
 |
| I started tacking it together, jumping all over the joint, trying to take my time and space them out. |
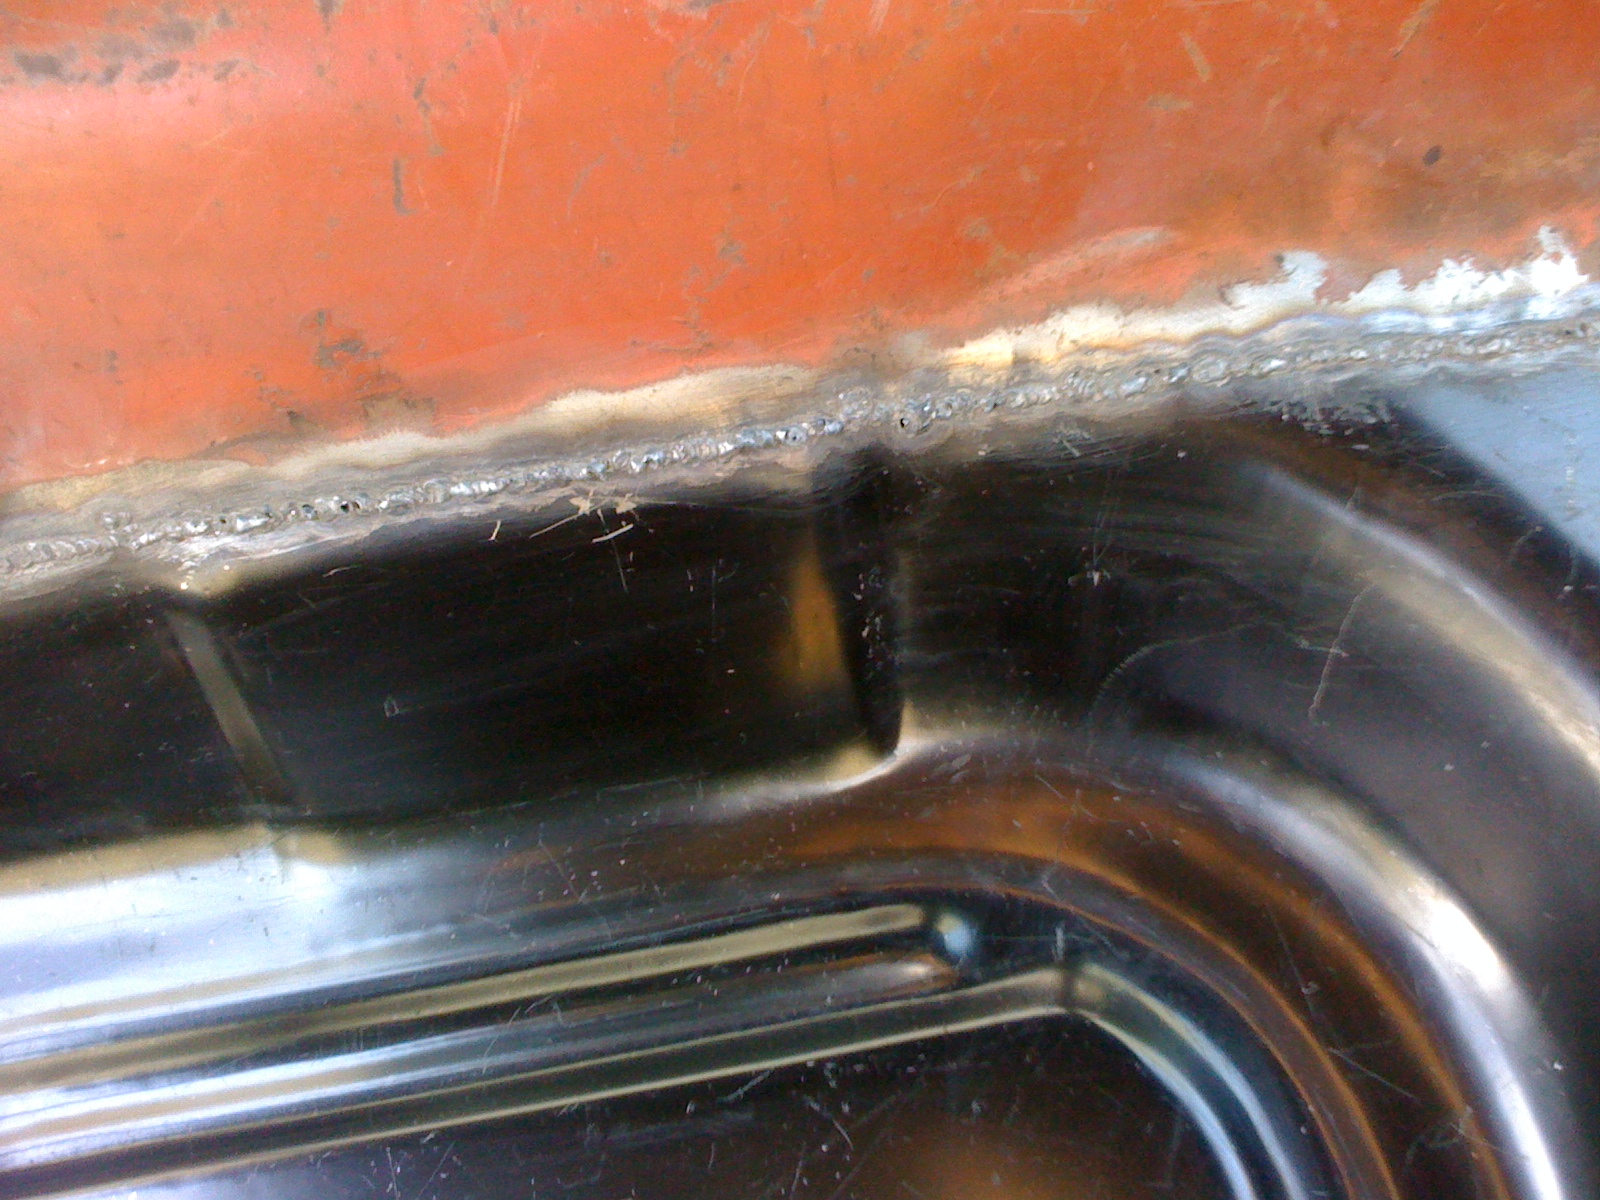 |
| Here you can see all the finished welds. I think it turned out rather well. |
 |
| Here is the front portion. |
 |
| At the same time as I was doing the butt weld joint on the tunnel, I was also jumping around and doing all the plug welds. Here is on the torque box. |
 |
| Up front on the toe board and floor support. |
 |
| Here it is after grinding. I did find a few pinholes, they are marked by the circles. It seems to be unavoidable when you try and grind down both sides of the panel. I'll be finishing them up soon. If you look carefully towards the left of the picture, you can see that there is a slight hump where the panels come together. |
 |
| This is that same hump from earlier. Fortunately a little hammer and dolly work with the shrinking hammer has managed to smooth it out. If it hadn't worked, I would have had no option but to cut it and weld it back in. |
 |
| Plug welds ground down. |
 |
| Plug welds on the rocker ground down. This was a fun area as I had to use sheet metal screws to tighten it down, and then use my hammer judiciously to get the closest fit. |