 |
| I started tacking it together, jumping all over the joint, trying to take my time and space them out. |
 |
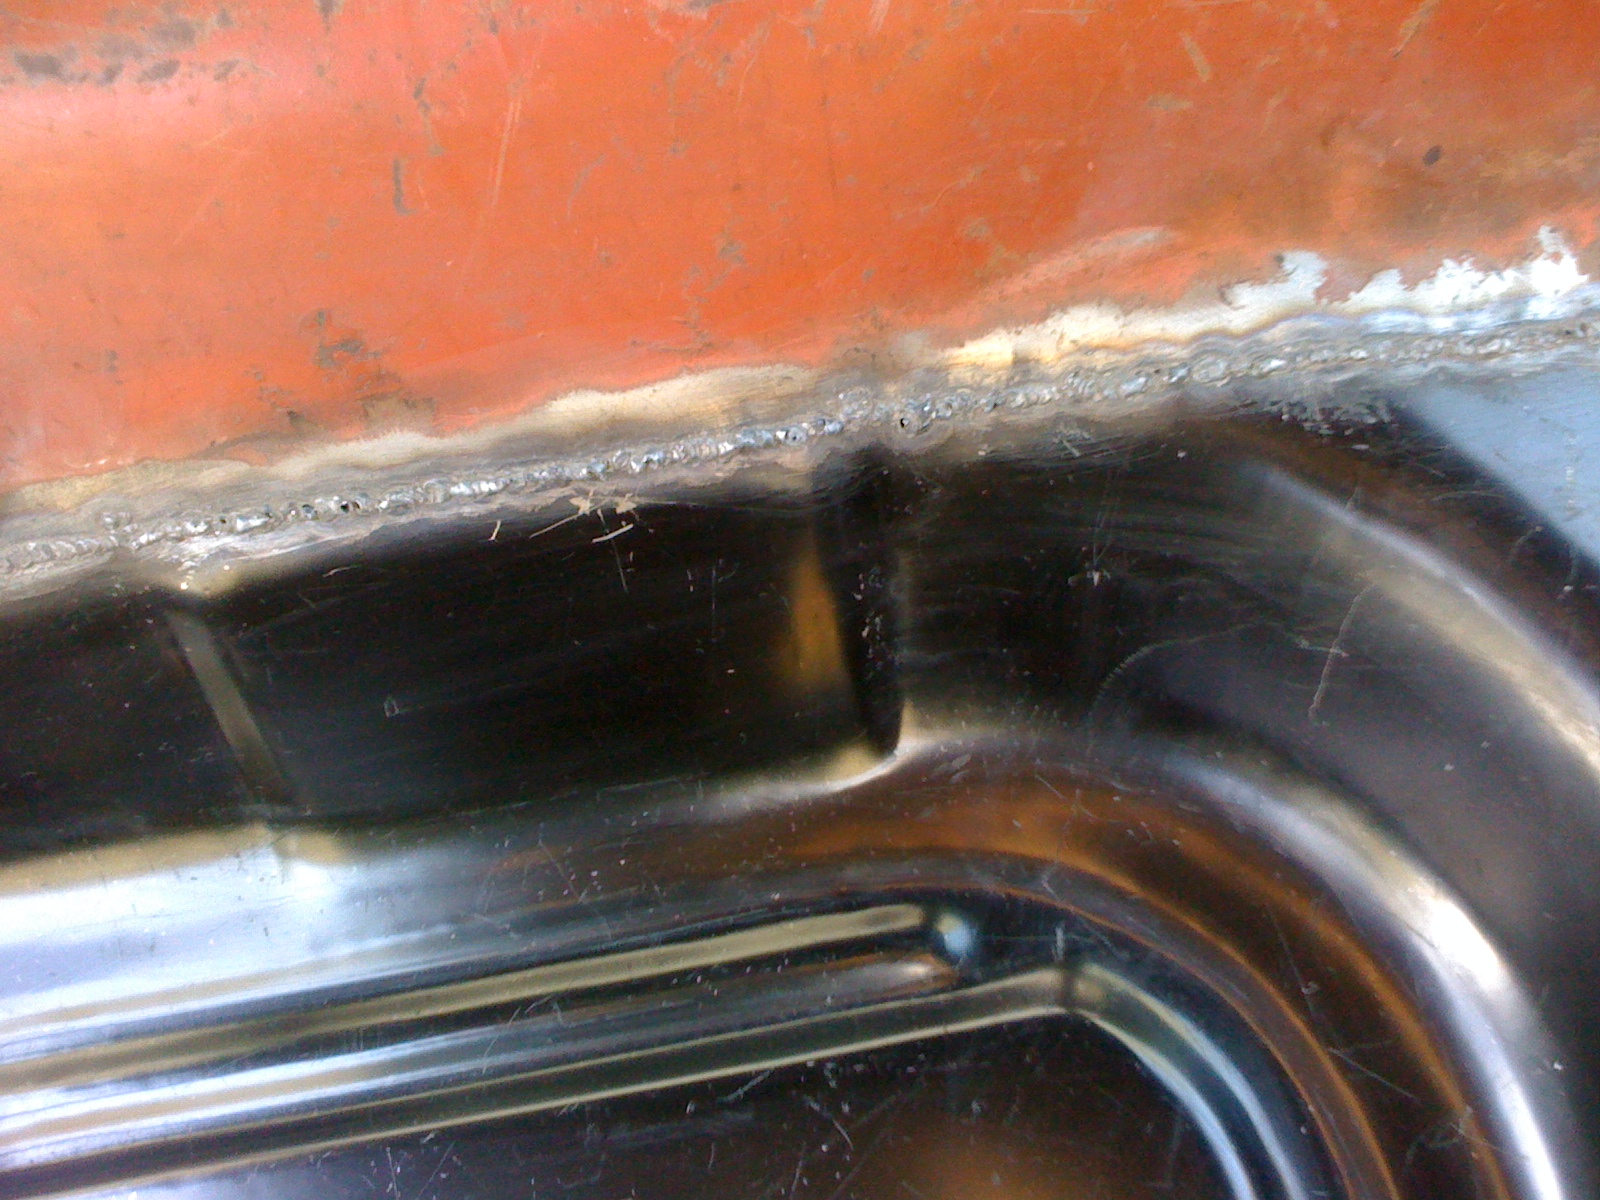
| Here you can see all the finished welds. I think it turned out rather well. |
 |
| Here is the front portion. |
 |
| At the same time as I was doing the butt weld joint on the tunnel, I was also jumping around and doing all the plug welds. Here is on the torque box. |
 |
| Up front on the toe board and floor support. |
 |
| Plug welds ground down. |
 |
| Plug welds on the rocker ground down. This was a fun area as I had to use sheet metal screws to tighten it down, and then use my hammer judiciously to get the closest fit. |


That is some really impressive work...and on your back with no rotisserie!!! You gotta love the results. Sojourn on Grant!
ReplyDeleteYeah, on my back was fun, got a couple of spatter burns because of it. :)
DeleteThat's some good work Grant!
ReplyDeleteThanks Alex.
DeleteLooking good grant! It's getting me excited to get to that point. Can I ask how you held up the floor after cutting it to match?
ReplyDeleteI actually just jacked it up to hold most of the weight and used butt welding clamps from Harbor Freight to clamp the two pieces where necessary. It was mostly supported already by the torque box in back and the floor support up front. After a couple of tacks along the seam, I didn't need the clamps or support from underneath anymore.
Delete